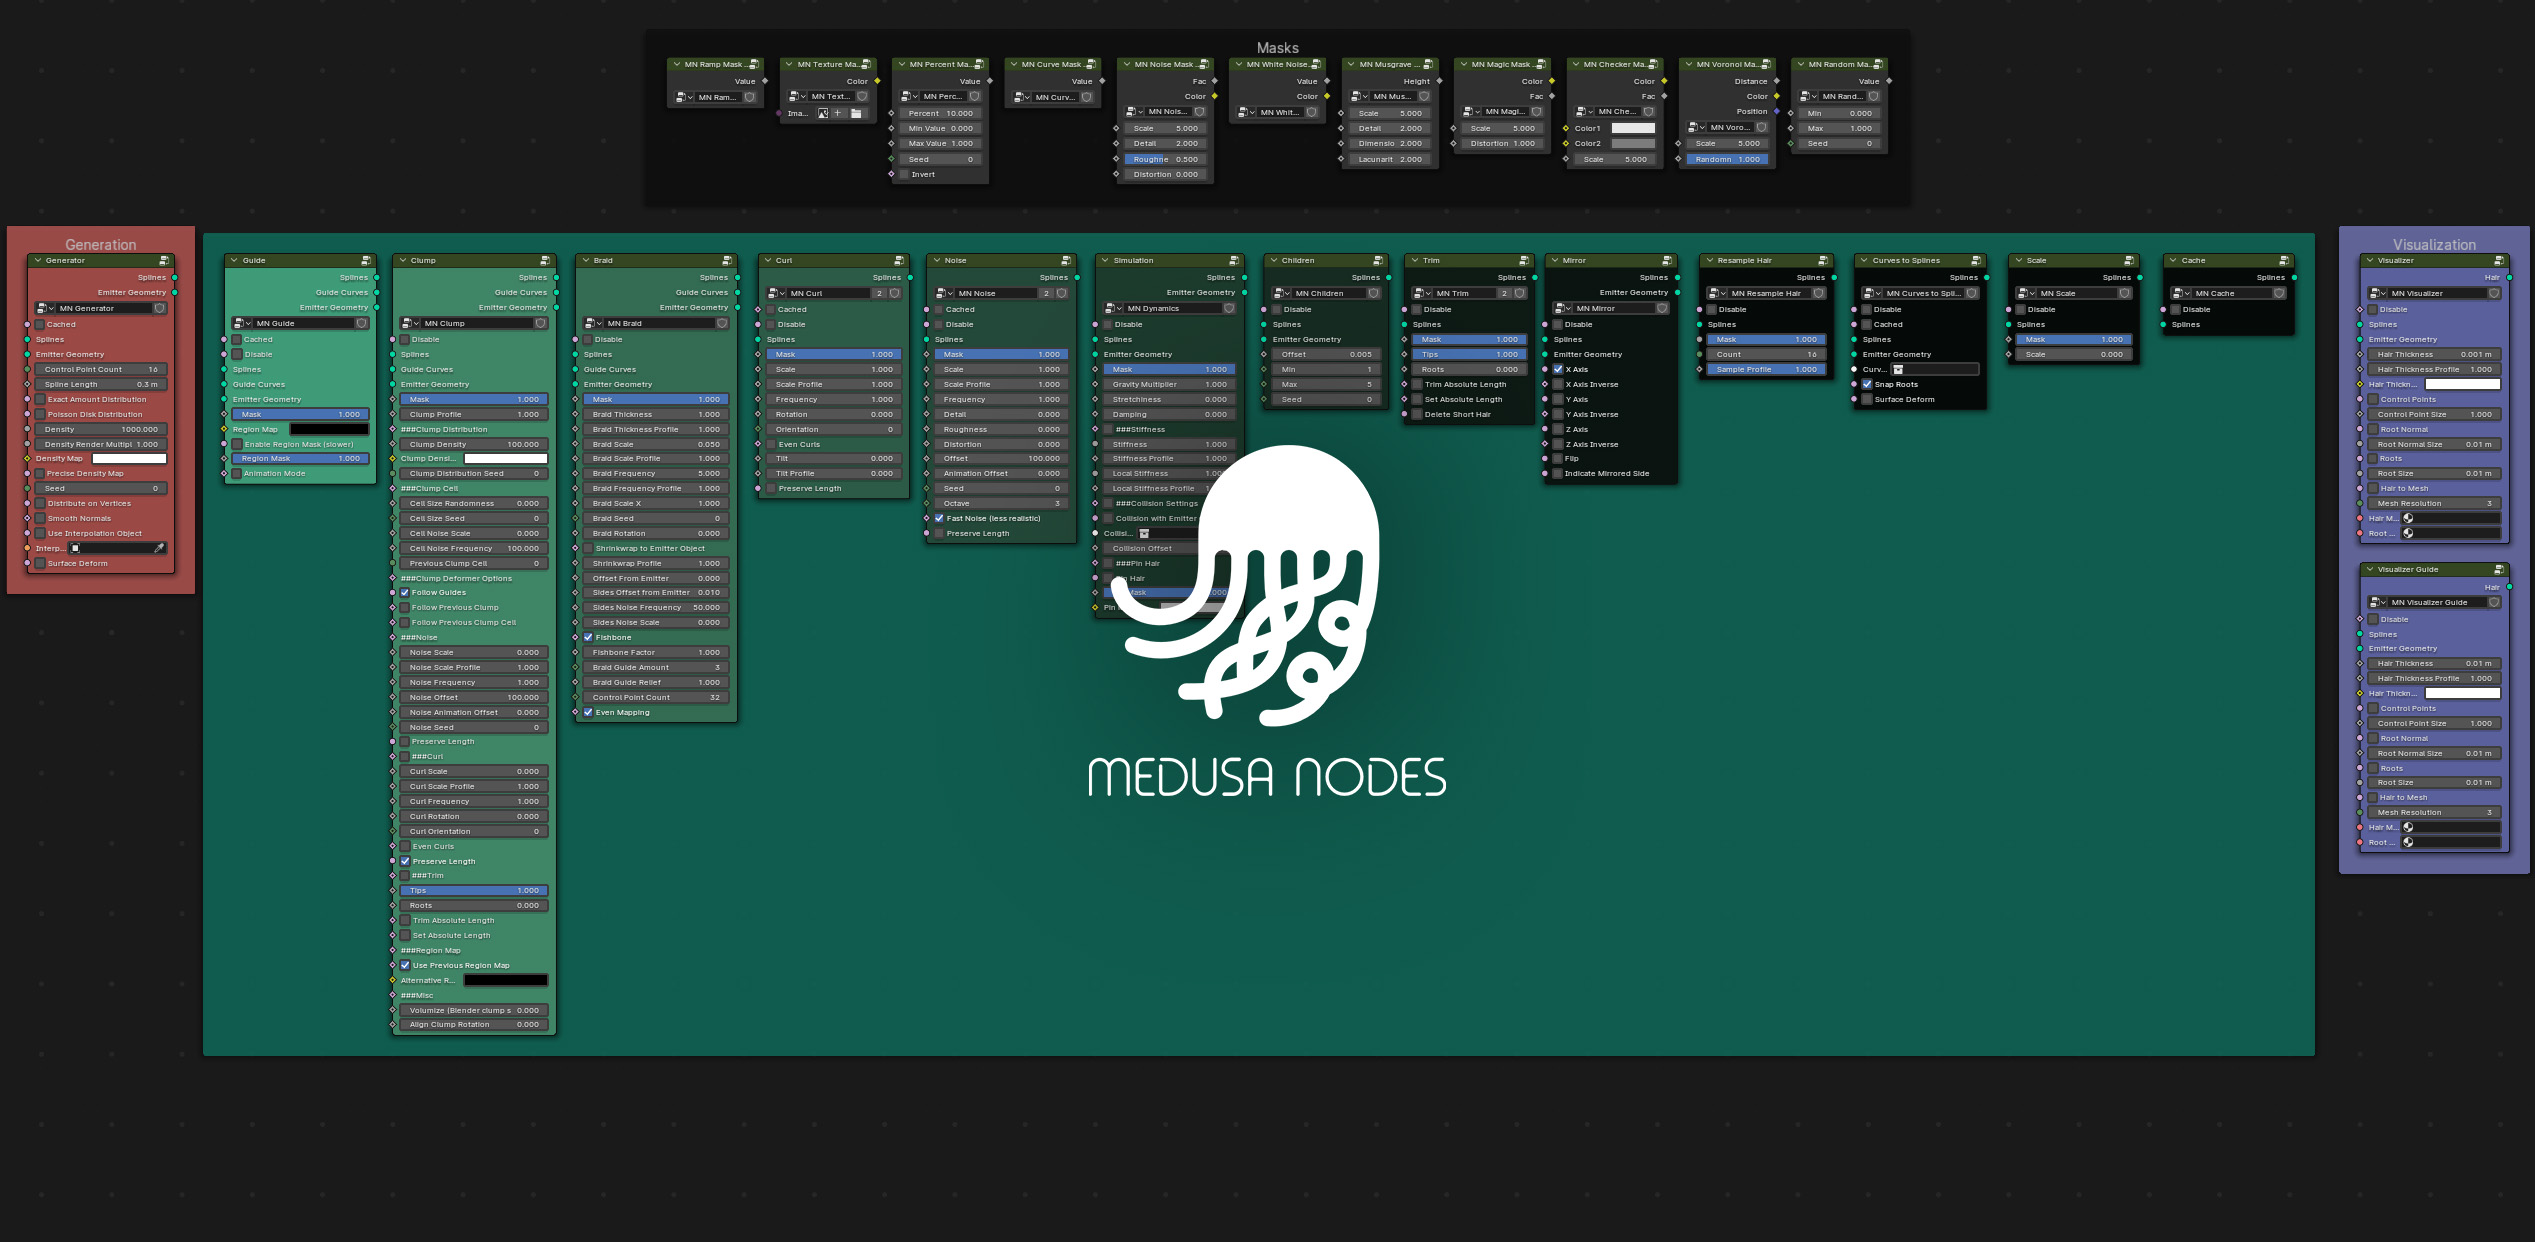
Nodes
Medusa Nodes uses custom-made nodes (node groups) built inside Geometry Nodes.
There are two types of node groups:
Main Nodes
Main nodes affect the hair and guide objects. There are four types of main nodes:
- Initials:
Nodes that initially come with every new hair or guide object. They can’t be removed.
- Deformers:
Procedural modeling nodes that deform or shape the splines in a realistic manner.
- Utility:
Responsible for some of the more technical procedural spline editing.
- Simulation:
Nodes that utilize different solving algorithms accompanied with caching.
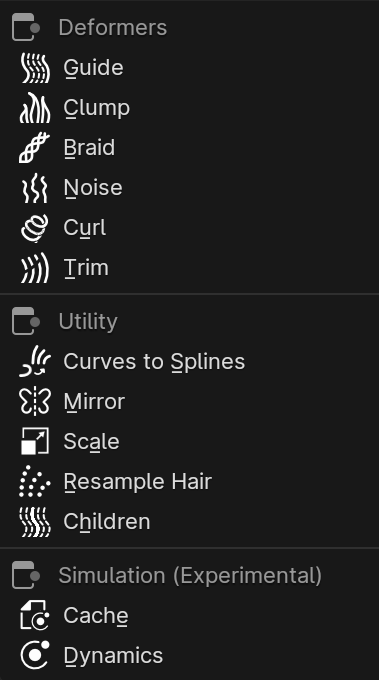
“Add Deformer” Menu
Initials
Generates splines (hair follicles) on the mesh object. |
|
Visualizes splines by adding thickness and material shading. |


Deformers
Shapes the hair with the help of the Guide object. |
|
Creates various kinds of clumps, supports nested-clumping. |
|
Adds regular and fishbone braids. |
|
Adds noise-based deformation. |
|
Adds curls to hair. |
|
Trims / cuts the hair. |


Utility
Gives the ability to draw and edit Blender’s regular curves objects on Medusa Nodes Hair object. |
|
Mirrors the guide and the hair splines along multiple axes. |
|
Scales the guide and the hair splines by the custom factor. |
|
Resamples and redistributes the control points in the splines. |
|
Randomly adds simple copies of already existing hair follicles. |


Simulation
Caches the deformation produced by the simulation or animation, making the playback faster. |
|
Simulates guide and hair splines using custom dynamics solver. |


Mask Groups
Mask Groups can alter different parameters of the Main nodes, mainly by producing black and white values.
They are not always necessary but can help modulate the effect produced by a Main node.
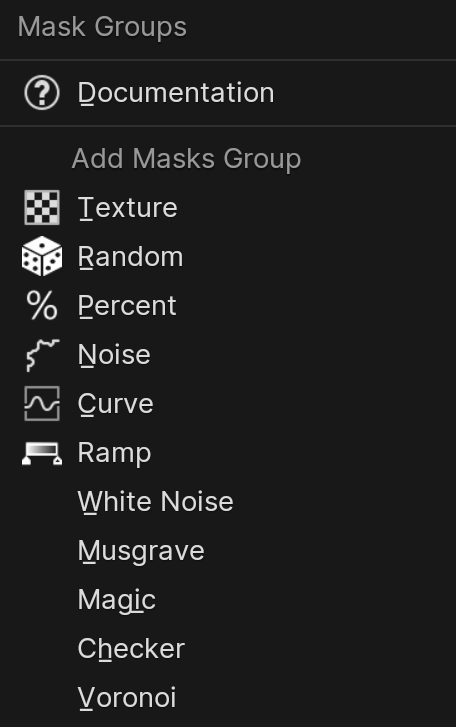
“Mask Group Options” menu.
Uses painted textures as an influence mask. |
|
Uses a random function as an influence mask. |
|
Uses a percent function as an influence mask. |
|
Uses a noise function as an influence mask. |
|
Uses a Float Curve as an influence mask. |
|
Uses a Color Ramp as an influence mask. |


